How to Repot a Bonsai Tree: A Step-by-Step Guide
Learn how to repot a bonsai tree safely with this beginner-friendly step-by-step guide covering timing, tools, soil, and aftercare.
Repotting is one of those tasks that sounds intimidating the first time, but it's genuinely manageable once you understand what you're doing and why. The short answer: you repot a bonsai to refresh the soil, trim overgrown roots, and give the tree room to stay healthy. Most beginners do it for the first time after a year or two of ownership, when the roots have filled the pot or the soil starts draining poorly.
This guide walks through the whole process, from knowing when the time is right to setting the tree back on the shelf to recover. Take it one step at a time.
Why repotting matters
Bonsai live in a small volume of soil. Over time, roots fill every bit of space, the soil breaks down and compacts, and water stops draining the way it should. At that point the tree can't absorb water or nutrients efficiently, and it slowly declines.
Repotting fixes all of that at once. You trim the roots back, replace the exhausted soil with fresh mix, and give the root system room to grow again for another year or two. Done right, it's one of the most beneficial things you can do for a bonsai.
It also gives you a close look at the root system, which is useful. Healthy roots are white or cream-coloured and firm. Dark, mushy roots signal rot, and catching it early lets you deal with it before it spreads.
When to repot
Timing matters more than most beginners expect. The best window is just before the tree breaks dormancy in late winter or early spring, when the buds are swelling but haven't opened yet. At that moment the tree has stored energy from the previous growing season, and new growth is about to push, so the roots recover fast.
Repotting a tree in full leaf during summer stresses it much more. You're asking the tree to heal root wounds AND support active foliage at the same time. It's survivable, but not ideal for a beginner's first attempt.
For guidance on reading the signs that your specific tree is ready, see when to repot a bonsai and how to tell. Tropical species kept indoors don't have a true dormancy, so the timing rules shift a little for them.
As a rough frequency guide:
| Tree age / type | How often to repot |
|---|---|
| Young trees (under 5 years) | Every 1 to 2 years |
| Established deciduous trees | Every 2 to 3 years |
| Established conifers | Every 3 to 5 years |
| Tropical indoor species | Every 2 to 3 years |
These are starting points. The real signal is root growth, not the calendar.
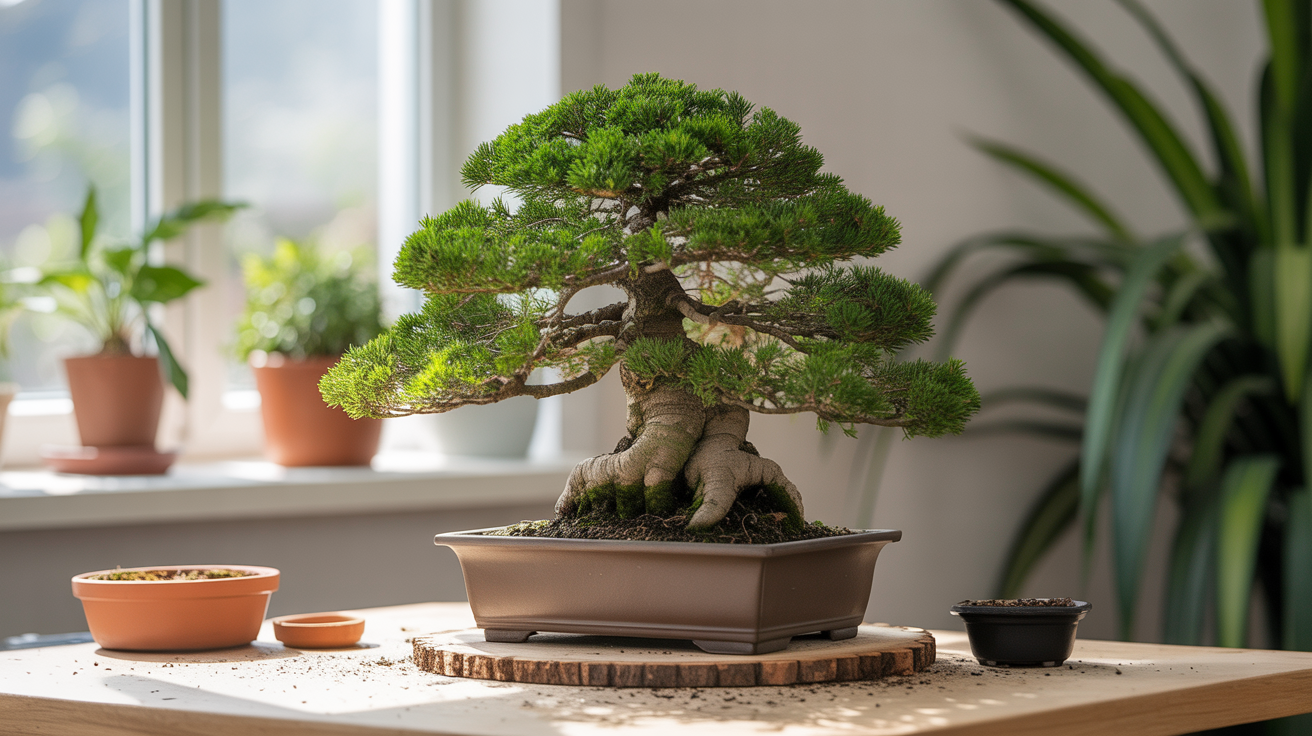
What you'll need
Gather everything before you start. Once the tree is out of the pot, you don't want to be searching for tools.
- Sharp scissors or root pruning shears for trimming roots cleanly
- Root hook or chopstick for loosening soil without tearing roots
- Wire cutters if your tree is wired into its current pot
- Mesh or drainage screens to cover the drainage holes in the new pot
- Bonsai soil mix (akadama, pumice, and lava rock is a common blend)
- Anchor wire to secure the tree in the new pot
- A container or tray to catch the old soil
- Water for settling the new soil afterward
Sharp tools matter. A clean cut on a root heals quickly. A ragged tear takes much longer and leaves the tree more exposed to infection. If your scissors are dull, sharpen them or replace them before you start.
The bonsai repotting steps
1. Remove the tree from its pot
If the tree is wired in, cut the wires with wire cutters. Then tilt the pot and ease the tree out. Sometimes it slides free. More often, the roots have bonded with the pot wall, and you'll need to run a knife or a thin spatula around the inside edge to break the seal.
Don't yank the trunk. Work slowly around the perimeter until the root ball comes free.
2. Comb out the roots
Set the tree on your work surface and use a root hook or chopstick to comb through the root ball from the outside in. Your goal is to loosen the old soil away from the roots so you can see what you're working with, and to straighten any roots that have circled around the pot.
This step takes patience. Old bonsai soil compacts over time, and the roots weave through it tightly. Work gently. You'll break a few small feeder roots no matter what, and that's fine. Just avoid tearing or stripping roots unnecessarily.
3. Prune the roots
Here's the step that worries most beginners. You're going to cut away a significant portion of the root system, sometimes up to a third of the mass, and the tree will be fine. Bonsai have been doing this for centuries.
The goal is to remove:
- Long, thick roots that have circled the pot
- Any dark, mushy, or dead roots
- Roots growing straight downward (the so-called "taproot" style roots that don't serve the bonsai form)
- Enough mass overall so that the roots fit the new pot with room to grow
For a detailed look at how much to remove and how to make safe cuts, the guide on how to root prune a bonsai safely covers this well.
Cut with clean, decisive strokes. Don't saw or tear. After pruning, the root spread should be roughly the same diameter as the canopy.
4. Prepare the new pot
Cover each drainage hole with a small piece of mesh, then thread anchor wire up through the holes so it comes out the top of the pot. You'll use this wire to tie the tree in place after you position it.
Add a thin layer of coarse grit or pumice to the bottom of the pot for drainage, then add a mound of bonsai soil mix in the centre. The mound should be high enough that when you set the tree on it, the nebari (the visible base of the trunk and surface roots) sits at or just above the pot rim.
Choosing the right pot matters too, not just for looks but for drainage and root health. If you're selecting a new container, the guide on how to choose the right bonsai pot walks through the key considerations.
5. Position and secure the tree
Set the root ball onto the soil mound. Rotate the tree until you find the front, the angle that shows the nebari and trunk line to best effect.
Once you're happy with the position, pull the anchor wires up over the root ball and twist them together to hold the tree firmly. The tree should not rock when you push it gently. If it moves, tighten the wire. A tree that shifts in the pot tears the new root hairs forming at the cut ends, which slows recovery.
6. Fill with soil
Work fresh soil into all the gaps between the roots using a chopstick. Pour soil in from the sides, then prod and wiggle with the chopstick to collapse air pockets. Roots in an air pocket dry out and die. Be thorough here.
Fill to about 1 to 2 cm below the pot rim. You want room for water to pool briefly before it drains through, rather than running straight off the surface.
7. Water thoroughly
Take the pot to a sink or outdoor area and water slowly and steadily until water runs clear from the drainage holes. This settles the soil, washes away fine dust from new akadama, and gives the roots their first drink in a stressed state.
Aftercare: the weeks that matter most
This is where a lot of beginners lose trees they successfully repotted. The first four to six weeks after repotting are the most delicate. The tree has no fine root hairs to absorb water efficiently, and it's rebuilding them from the pruned ends.
Keep it out of direct sun and wind for the first two weeks. A bright, sheltered spot is ideal. Harsh sun and drying wind stress the foliage while the roots are still vulnerable.
Water carefully. The soil should stay moist but not waterlogged. Check it daily. Because the pot now has fresh, open soil mix (rather than compacted old soil), it may dry faster than you're used to.
Hold off on fertilising for at least four to six weeks. Fresh soil has some nutrients already. Feeding a stressed tree too soon pushes leafy growth before the root system is ready to support it.
Watch for wilt. Some leaf droop in the first week or two is normal. Persistent wilt or leaf drop after that usually means the roots are struggling. Check that the soil isn't bone dry, and consider moving the tree to an even more sheltered spot.
If you followed the steps and the timing was right, most trees pull through repotting without drama. New growth emerging a few weeks later is a good sign that the roots are settled and working again.
Frequently asked questions
How do I know if my bonsai actually needs repotting?
The clearest signs are roots circling the bottom of the pot, roots pushing up through the soil surface, water sitting on top of the soil rather than draining quickly, or the tree drying out unusually fast between waterings. If you see any of these, it's time. You can also gently lift the tree out of the pot to check: if the root ball holds its shape and roots are dense around the edges, it's ready.
Can I use regular potting compost for my bonsai?
Standard potting compost holds too much water and doesn't drain fast enough for bonsai. Bonsai roots need oxygen as well as moisture. A proper bonsai mix, typically akadama, pumice, and lava rock in varying ratios, drains quickly, stays open, and doesn't compact over time. Using the wrong soil is one of the most common reasons beginner bonsai die.
What if I cut off too many roots?
Some over-pruning is recoverable, especially on healthy trees repotted in the right season. If you've removed more than a third of the root mass, compensate by reducing the canopy too, fewer leaves means less demand on the recovering root system. Keep the tree in a sheltered spot, water carefully, and give it time. Trees are more resilient than they look.
Do I have to use the same pot, or can I move up to a larger one?
You can repot into the same pot (after cleaning it), a slightly larger pot, or sometimes a smaller one depending on your styling goals. Moving to a much larger pot is generally not recommended. More soil than roots means the outer soil stays wet for too long and can cause root rot. A modest pot size is one of the things that makes bonsai bonsai.
My tree was repotted at the nursery before I bought it. Do I still need to repot it?
Probably not right away. If the nursery repotted it recently, give it at least a full growing season before you consider doing it again. Check the roots by carefully lifting the tree from the pot. If they haven't filled the pot yet and the soil drains well, leave it alone and focus on watering and feeding correctly for the first year.