How to Root-Prune a Bonsai Safely
Learn bonsai root pruning step by step: when to do it, how much to cut, and how to keep your tree healthy through the process.
Root pruning sounds alarming the first time you hear it. You're going to cut the roots of a living tree on purpose. But this is one of the most important skills in bonsai, and once you understand why it works, it stops feeling scary.
The short answer: bonsai root pruning keeps your tree healthy in a small pot. Without it, roots fill the container, circle back on themselves, and eventually starve the tree of water and nutrients. Pruning them back encourages a dense, fibrous root system that absorbs water efficiently and supports strong growth above the soil line.
This guide walks through the whole process in plain terms, from timing to aftercare.
At a Glance
- Root prune in early spring, just as buds are swelling but before they open. That's when the tree's energy is about to push new root growth.
- Trim roughly one-quarter to one-third of the root mass on a healthy tree; go lighter on young, stressed, or slow-growing trees.
- Keep the fine, pale feeder roots. They do most of the absorbing work; the thick anchor roots mostly transport and structurally support.
- Work fast. Exposed roots start drying out within 10 to 15 minutes, so have soil, pot, and tools ready before you lift the tree.
- Give the tree 7 to 14 days out of direct sun afterward, and hold off on fertiliser for 4 to 6 weeks.
- Frequency depends on species: fast growers like Chinese elm or ficus may need it every 1 to 2 years; slower conifers like juniper or pine can often go 3 to 5 years.
Why root pruning matters
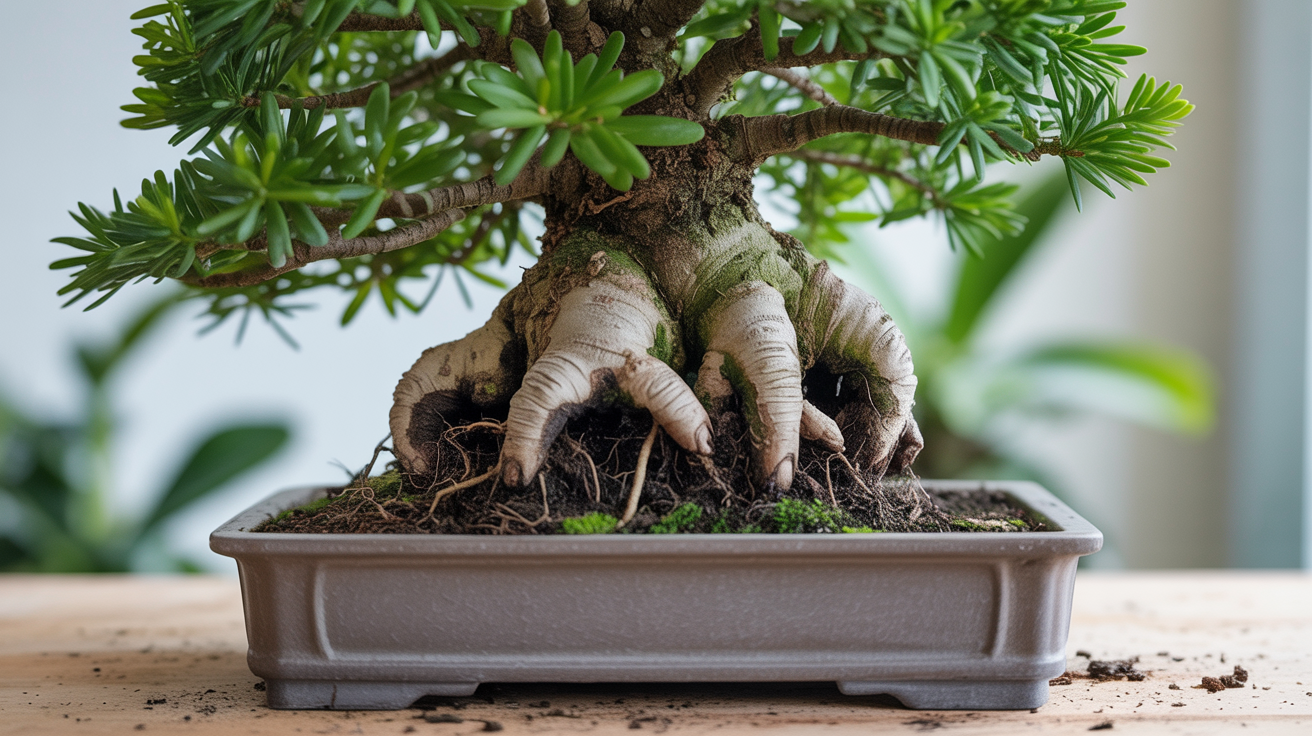
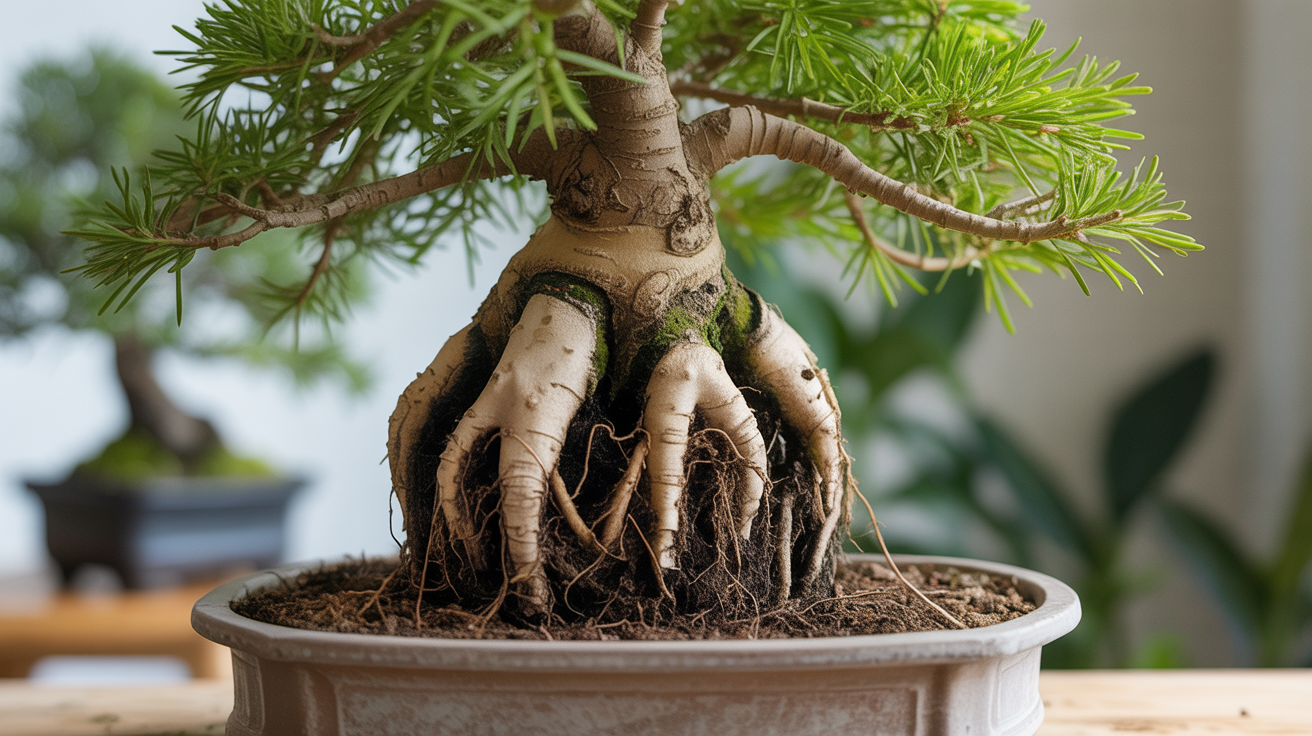
A bonsai tree lives in far less soil than it would in the ground. That soil holds water, oxygen, and nutrients. Over time, thick "feeder" roots take over the pot. These are the large, woody roots that anchor a tree in the wild. In a pot, they just crowd out everything else, and once a tree becomes root-bound, with roots circling the inside wall of the container instead of spreading through the soil, growth above ground slows even if you're watering and feeding correctly.
What you want instead is a fine, spreading network of thin roots close to the trunk. Fine roots, typically under two millimetres across, are the roots doing the actual work of water and nutrient uptake; the thicker, woodier roots mainly transport water upward and hold the tree in place. Cutting back the thick roots tells the tree to generate more of the fine ones. The result is a healthier, better-fed tree that also looks more natural, with a flatter, more radial root spread (the "nebari") at the base of the trunk.
Root pruning bonsai for beginners can feel like a leap of faith. It helps to remember: trees are tough. They drop branches, survive droughts, and push through compacted soil. A clean root trim, done at the right time, is far less stressful than letting roots get matbound and suffocated, which is the fate of any potted plant left root-bound for too many growing seasons in a row.
When to prune bonsai roots
Timing is more important than technique. Get this wrong and even a careful root pruning can weaken or kill a tree.
The best window is early spring, just before the tree breaks dormancy. You'll see buds swelling but not yet opening. Woody plants in temperate climates need a period of cold exposure before they'll break dormancy at all, and once that chilling requirement is satisfied and temperatures warm, the tree is primed to push a flush of new growth. That growth will drive rapid root regeneration and help the tree recover fast, which is exactly why this narrow window works so much better than any other time of year.
Avoid root pruning:
- In summer, when heat stress compounds the shock of root loss
- In autumn, when the tree is preparing for dormancy and has little energy to spare
- When a tree is sick, pest-damaged, or recently repotted (give it at least a full growing season to recover)
- Right after major branch pruning; wait a few weeks between the two so you're not stressing the tree twice at once
Tropical species kept indoors (ficus, jade, fukien tea) don't go dormant, so their window is more flexible. Spring still works well, but you can also root prune these in early summer or even winter if the tree looks root-bound and healthy otherwise.
Not sure if your tree actually needs repotting this year? Check when to repot a bonsai and how to tell for the signs to look for.
What you need
You don't need a large kit. The essentials:
- Sharp, clean root pruning scissors or shears (dedicated root scissors cut cleanly without tearing)
- A clean work surface or tray
- Fresh bonsai soil mix ready to go (you'll pot straight back in after cutting)
- A bucket of water for soaking the root ball if it's very dry
- A clean pot (or the same pot, scrubbed out)
- Wound paste or cut paste, optional but useful for very thick roots
Dull blades crush roots rather than cutting them. This causes dieback and opens the tree to rot. If you only sharpen one tool, sharpen your root scissors.
Disinfect your tools before you start. A wipe with rubbing alcohol or a dip in diluted bleach takes ten seconds and cuts the risk of spreading disease between trees, which matters most if you're working on more than one pot in the same session.
How to prune bonsai roots, step by step
Step 1: Prepare the pot and soil
Mix your soil before you remove the tree. Bonsai soil drains fast, so you want a free-draining mix suited to your species. Cover the drainage holes with mesh so soil doesn't fall out. Have the pot ready so you're not scrambling once the roots are exposed.
This is also a good moment to think about whether your current pot still suits the tree. A pot that's too large holds excess moisture around bare roots. A pot that's too small will be root-bound again within a year. The guide to choosing the right bonsai pot covers the sizing logic in more detail.
Step 2: Remove the tree from the pot
Tip the pot gently. If the tree doesn't slide out, run a thin stick or chopstick along the inside edge of the pot to break the soil away from the walls. Don't yank on the trunk.
Once it's out, set it on your work surface and look at the root ball. You're trying to understand the structure before you start cutting.
Step 3: Remove old soil
Use your fingers, a chopstick, or a root hook to gently loosen and remove the old soil from the outer and lower portions of the root ball. Work outward from the center. You're not trying to remove every last bit of soil; you just need to see and access the roots you're about to trim.
Old, exhausted soil compacts over time and loses drainage. Getting rid of most of it is part of what makes repotting worthwhile.
Step 4: Trim the roots
This is where beginners worry most. How much root to cut on a bonsai is a fair question, and the honest answer depends on the tree's health and how overgrown the roots are.
| Tree condition | How much to remove | Notes |
|---|---|---|
| Healthy, moderately filled roots | About one-quarter to one-third of total root mass | The default case for most established bonsai |
| Very root-bound (roots circling the pot, little visible soil) | Up to one-half | Only if the tree is otherwise vigorous and healthy |
| Young or recently stressed | Light trim only | Remove thick, downward roots and any dead or rotting ones; leave the rest |
| Just repotted within the last year | None | Skip this cycle; let the tree recover fully first |
Cut with confidence. Hesitant cuts leave ragged ends. You want clean snips that heal quickly.
Focus on:
- Long roots that wrap around the pot's perimeter
- Thick, downward-pointing "anchor" roots that take up space without absorbing much
- Any roots that look dark, mushy, or smell off (these are rotting; remove them entirely)
- Crossing roots that press against each other
Leave as many fine, pale roots as you can. These are the feeding roots. They're doing most of the work.
Step 5: Repot immediately
Exposed roots dry out fast. Don't stop to take photos, make tea, or answer messages. Get the tree back into its pot within a few minutes.
Add a base layer of soil to the pot. Position the tree where you want it (slightly off-center usually looks best). Pack fresh soil in around the roots, working it into gaps with a chopstick so there are no air pockets. Air pockets let roots dry out and die.
Water thoroughly until it runs freely from the drainage holes.
For a full walkthrough of the repotting process from start to finish, see how to repot a bonsai tree.
Aftercare: the week that matters most
The first week after root pruning is when most trees either recover cleanly or struggle. A few things that help:
Keep the tree out of direct sun for 7 to 14 days. Bright indirect light is fine. Full sun demands more water from roots that have just been reduced. Give the tree a chance to regenerate before asking it to work hard.
Don't fertilize yet. Wait until you see new growth pushing (usually 4 to 6 weeks). Fertilizing stressed roots can burn them.
Water carefully. Check soil moisture daily. The fresh mix will dry at a different rate than the old soil did. You want the soil to be moist but not wet, and it's worth checking twice in the first few days until you know how the new mix behaves.
Watch for wilting. Some temporary droop is normal. If leaves go soft but the soil is moist and the tree was healthy going in, it's usually just adjustment stress. If wilting persists beyond two weeks, check for root rot.
Expect a slow start, then a push. Most trees sit quietly for two to four weeks with little visible change above soil, then put out a flush of new growth once the roots have re-established. That lag is normal and isn't a sign anything went wrong.
Common mistakes to avoid
A few patterns show up again and again with beginners doing their first root prune:
- Pruning at the wrong time of year. This is the most common cause of post-repotting decline. If you're reading this in August, bookmark it and come back in late February.
- Removing too much at once. Enthusiasm is understandable. Start conservative. You can always take more next repotting cycle; you can't put roots back.
- Not working fast enough. Roots exposed to air for more than 10 to 15 minutes start drying out. Set everything up before you lift the tree.
- Skipping root pruning because it seems harsh. Letting a tree get severely root-bound causes slow decline. A light prune every 1 to 3 years (depending on species and pot size) is kinder than neglect.
- Using dull or dirty tools. Crushed cuts heal slowly and invite rot; unsterilised tools can carry disease from one tree to the next.
Frequently asked questions
How often should I root prune my bonsai?
It depends on the species and how fast it grows. Fast-growing species like Chinese elm or ficus may need attention every 1 to 2 years. Slower conifers like juniper or pine can often go 3 to 5 years between root prunes. The tell is the tree itself: when roots start circling the pot's interior walls or pushing out of drainage holes, it's time.
Can I root prune and branch-prune at the same time?
It's better to space them out. Both operations cause stress. If you need to do both, do the lighter of the two first, wait a few weeks, and then do the other. If the tree is going into repotting season and needs both, a light trim of each is safer than a heavy trim of both.
What if I accidentally cut too many roots?
Stay calm. Put the tree in a shaded spot, water gently, and stop fertilizing. Remove any flowers or developing fruit (they drain energy the tree needs for recovery). Misting the foliage can help temporarily. Trees are more resilient than you'd expect, and many recover from significant root loss if the aftercare is right.
Does root pruning hurt the tree?
Short-term, yes: it's a stress event. Long-term, it's what keeps a bonsai alive and healthy in a small container. A well-timed, well-executed root prune is one of the most beneficial things you can do for a potted tree.
My tree's roots look white and healthy but the pot is barely full. Do I still need to prune?
Not necessarily. Root pruning is only necessary when the roots genuinely need managing. If the pot has plenty of open soil and the roots aren't circling or crowding, you can leave the tree alone this cycle. Repot with fresh soil if the existing soil has broken down, but you don't have to cut roots just because you're repotting.
Can I root prune a tree that's never been repotted before, straight from a nursery pot?
Yes, and this is often the first root prune a beginner does. Nursery stock is usually grown in dense, moisture-retentive soil with a thick, tangled root mass. Work through it more slowly than you would a tree already in bonsai soil, since you'll likely be removing more old compost than usual, and be conservative with how much root you cut the first time. The tree is adjusting to bonsai soil and a shallow pot at the same time, which is enough change for one season.